UnggoyZealot (talk | contribs) mNo edit summary |
UnggoyZealot (talk | contribs) mNo edit summary |
||
| Line 26: | Line 26: | ||
| − | == Boss Lineup == |
+ | == '''Boss Lineup''' == |
<center> |
<center> |
||
{| class="hlblack" cellspacing="1" cellpadding="2" |
{| class="hlblack" cellspacing="1" cellpadding="2" |
||
| Line 111: | Line 111: | ||
</center> |
</center> |
||
| − | == Strategies == |
+ | == '''Strategies''' == |
| − | === Team Strategy === |
+ | === '''Team Strategy''' === |
The battle is located on a small island in the center of a lake, with a very small beach and vegetation taking up most of the island. As with other Warzone maps, the opposing teams' bases are found on opposite sides of the map, with Red Base at the western edge of the island, and Blue Base located at the eastern portion. Securing your home base is of utmost importance, but the Imperial Grunts holding it are quite easy to deal with. As long as you don't find yourself completely alone and surrounded by most of them, taking out the base's guards should be easy enough. After this is done, you can speed up your advance to the Spires by taking one of the two Ghosts located north of each team's base. You can also use the REQ Stations to summon vehicles, due to the presence of garages in all five bases. |
The battle is located on a small island in the center of a lake, with a very small beach and vegetation taking up most of the island. As with other Warzone maps, the opposing teams' bases are found on opposite sides of the map, with Red Base at the western edge of the island, and Blue Base located at the eastern portion. Securing your home base is of utmost importance, but the Imperial Grunts holding it are quite easy to deal with. As long as you don't find yourself completely alone and surrounded by most of them, taking out the base's guards should be easy enough. After this is done, you can speed up your advance to the Spires by taking one of the two Ghosts located north of each team's base. You can also use the REQ Stations to summon vehicles, due to the presence of garages in all five bases. |
||
| Line 119: | Line 119: | ||
Although the map is large, only the outskirts and pads are supportive of mainline ground vehicles. The Courtyard is certainly large enough to fit even a Scorpion, but the outer walls of the Grand Hall give enemies a vantage point to easily fire upon you, as well as the fact that some Legendary Bosses spawn right here. Your best bet would be to either use air vehicles such as Wasps and Banshees to fly over the obstacles, or use a speedy Mongoose or Ghost to travel quickly along the shores to get to locations. Capturing all three bases will expose the enemy team's Core, thus giving you the opportunity to make a quick and decisive win. With no back entrance in the bases due to the isolated position of the map, it can be easy to corner the opponents within their own base and take out their core. |
Although the map is large, only the outskirts and pads are supportive of mainline ground vehicles. The Courtyard is certainly large enough to fit even a Scorpion, but the outer walls of the Grand Hall give enemies a vantage point to easily fire upon you, as well as the fact that some Legendary Bosses spawn right here. Your best bet would be to either use air vehicles such as Wasps and Banshees to fly over the obstacles, or use a speedy Mongoose or Ghost to travel quickly along the shores to get to locations. Capturing all three bases will expose the enemy team's Core, thus giving you the opportunity to make a quick and decisive win. With no back entrance in the bases due to the isolated position of the map, it can be easy to corner the opponents within their own base and take out their core. |
||
| − | === Bases === |
+ | === '''Bases''' === |
==== '''West Spire''' ==== |
==== '''West Spire''' ==== |
||
* Initial Opposition: Four Imperial Grunts, Elite Overseer |
* Initial Opposition: Four Imperial Grunts, Elite Overseer |
||
| Line 159: | Line 159: | ||
>> Assaulting the Grand Hall is arguably the toughest thing to do in Incursion on Didact's Keep besides fighting Legendary Bosses, and as such you should have a powerful weapon or vehicle along with several teammates to help you storm the gargantuan structure. Although the defensive positions inside are in the guards' favor, some are also suitable for ducking behind when you need to withdraw from a defensive surge. Avoid using a main entrance in risk of being picked off by camping snipers unless you have an armored vehicle, and go through the Courtyard or Cargo Bay to surprise the opponent Spartans by way of the minor entrances, before going for the capture. |
>> Assaulting the Grand Hall is arguably the toughest thing to do in Incursion on Didact's Keep besides fighting Legendary Bosses, and as such you should have a powerful weapon or vehicle along with several teammates to help you storm the gargantuan structure. Although the defensive positions inside are in the guards' favor, some are also suitable for ducking behind when you need to withdraw from a defensive surge. Avoid using a main entrance in risk of being picked off by camping snipers unless you have an armored vehicle, and go through the Courtyard or Cargo Bay to surprise the opponent Spartans by way of the minor entrances, before going for the capture. |
||
| − | === Boss Tactics === |
+ | === '''Boss Tactics''' === |
{| class="hlblack" cellspacing="1" cellpadding="2" |
{| class="hlblack" cellspacing="1" cellpadding="2" |
||
| style="background:rgba(50, 50, 50, 0.8); border: 1px solid #444; padding:0 5px 0 5px"|'''Boss''' |
| style="background:rgba(50, 50, 50, 0.8); border: 1px solid #444; padding:0 5px 0 5px"|'''Boss''' |
||
Revision as of 02:32, 24 December 2018
| This fanfiction article, Incursion on Didact's Keep, was written by UnggoyZealot. Please do not edit this fiction without the writer's permission. |
| This article, Incursion on Didact's Keep, is currently under active construction. |
| The author of this article, Incursion on Didact's Keep, urges anyone who reads it to provide feedback on the quality of the article. Thank you! |
| Incursion on Didact's Keep | |
| Game: | Halo 5: Guardians |
| |
|---|---|
| Date: | February, 2558 |
| Objective: | Accumulate the most victory points, or destroy the opponent's core. |
| Enemies: | Enemies
|
| [Source] | |
- "The stronghold of one of Jul 'Mdama's Zealots, this structure was destroyed along with the rest of Requiem when the planet was thrust into its sun, Epoloch."
- ―Description of Incursion on Didact's Keep.
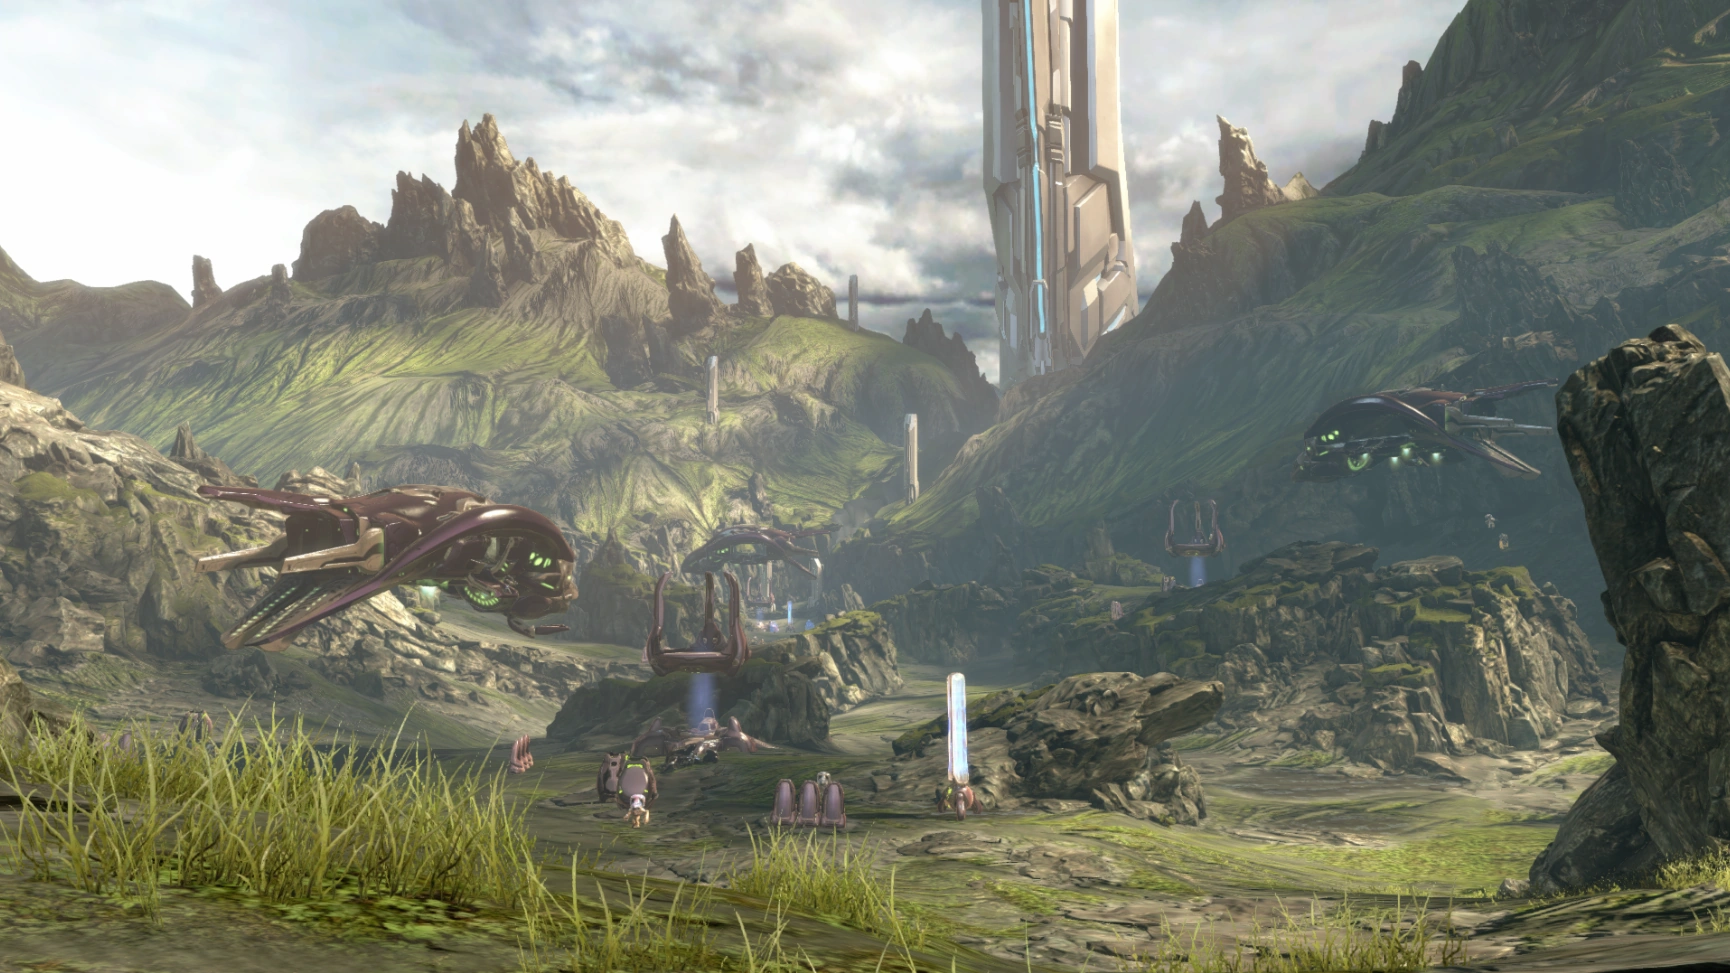
Incursion on Didact's Keep is a recently added map to the Warzone collection in the War Games simulations onboard the Infinity. Utilizing the former headquarters of Zealot Grono 'Yendam as a location, the map's bosses are various individuals from 'Yendam's Zog'fee Imperial Legion. Keep's layout is on a small island in the center of a lake, with the two teams' bases located on opposite beaches. The center of the landmass is swallowed up by a large Forerunner structure, where Zealot Grono conducted his operations from.
Boss Lineup
| Boss | Location | Bounty | Time Active |
| Elite Overseer | West Spire | 25 VP | 0:00 |
| Elite Overseer | East Spire | 25 VP | 0:00 |
| Hunter Ravagers | Relay | 25 VP | 2:00 |
| Hunter Ravagers | Station | 25 VP | 2:00 |
| Sky Ranger | Docking Pad | 25 VP | 4:00 |
| Sky Ranger | Landing Pad | 25 VP | 4:00 |
| Imperial Goblin | Courtyard | 150 VP | 6:00 |
| Knight Herald | Teleportation Grid | 25 VP | 8:00 |
| Soldier Scout | Relay | 25 VP | 10:00 |
| Soldier Scout | Station | 25 VP | 10:00 |
| Elite Specialist | Docking Pad | 25 VP | 12:00 |
| Elite Specialist | Landing Pad | 25 VP | 12:00 |
| Commander 'Iltuk | Cargo Bay | 150 VP | 14:00 |
| Knight Commandos | Teleportation Grid | 25 VP | 16:00 |
| Grono 'Yendam | Courtyard | 150 VP | 18:00 |
Strategies
Team Strategy
The battle is located on a small island in the center of a lake, with a very small beach and vegetation taking up most of the island. As with other Warzone maps, the opposing teams' bases are found on opposite sides of the map, with Red Base at the western edge of the island, and Blue Base located at the eastern portion. Securing your home base is of utmost importance, but the Imperial Grunts holding it are quite easy to deal with. As long as you don't find yourself completely alone and surrounded by most of them, taking out the base's guards should be easy enough. After this is done, you can speed up your advance to the Spires by taking one of the two Ghosts located north of each team's base. You can also use the REQ Stations to summon vehicles, due to the presence of garages in all five bases.
Taking your respective Spire will be a challenge, but capturing it guarantees you a vantage point to look down upon the map. Although the Spires are the highest buildings on the map and give you the high ground compared to everything else, there is little cover atop them which makes you an easy target for airborne enemies. Taking up position in the Grand Hall is a much better idea, and even though it doesn't have the super high altitude of the Spires, it grants you more cover and the ability to easily help your teammates defend the position from Spartan opponents.
Although the map is large, only the outskirts and pads are supportive of mainline ground vehicles. The Courtyard is certainly large enough to fit even a Scorpion, but the outer walls of the Grand Hall give enemies a vantage point to easily fire upon you, as well as the fact that some Legendary Bosses spawn right here. Your best bet would be to either use air vehicles such as Wasps and Banshees to fly over the obstacles, or use a speedy Mongoose or Ghost to travel quickly along the shores to get to locations. Capturing all three bases will expose the enemy team's Core, thus giving you the opportunity to make a quick and decisive win. With no back entrance in the bases due to the isolated position of the map, it can be easy to corner the opponents within their own base and take out their core.
Bases
West Spire
- Initial Opposition: Four Imperial Grunts, Elite Overseer
>> The Red Team has the best chance of capturing the West Spire, while Blue Team shouldn't take it until they have capture the opposing Spire and the Grand Hall. Getting over to the West Spire is very easy, taking a short while on foot, and even less when in a vehicle. Taking the West Spire is not recommended if the Red Base hasn't been secured yet, as most of the Imperial Grunts at the home base stake out near the entrance.
>> The West Spire is a slight challenge to take, but offers great reward. Guarded by four Imperial Grunts, the main floor is easy to take as long as you use precision weapons like the Magnum and Battle Rifle to take them out. Have at least one teammate defend the eastern entrance in case opponents try to make a grab for the base. Securing the base is the easy part; the hard part is the first boss, the Elite Overseer. Armed with a Beam Rifle, this boss has deadly precision and will assault you from the roof of the Spire, being nearly impenetrable to normal attacks from afar. Use teamwork to take him out, so you won't have extra work on your plate if the Spire comes under attack later.
>> The lower floors of the West Spire make a great place to defend from attackers. With the twisting turns and halls, you and a teammate can set up a perfect ambush scenario for incautious opponents, provided you have weapons like the Assault Rifle and Shotgun. While the ability to snipe enemies from far across the map from the Spire's top is a good idea at first, in the late game when air vehicles get used you should generally stay away from there.
>> While there aren't any air vehicles that spawn naturally during the battle, you should still keep an eye out in the late-game when Spartans might start employing air vehicles. Abandon your position atop the West Spire as soon as possible when they start to arrive, unless you are well armed with a weapon such as a Rocket Launcher. The rest of the time, a Sniper or Beam Rifle is recommended to take out enemies from afar, and even steal kills from the opposing team.
>> If you are trying to take the West Spire after it has been captured by the opposing team, the first floor is the most direct method of securing it. Due to the large possibility of it being guarded, however, a safer option would be to clamber on the nearby Boulders to get in through one of the second floor's balconies. Getting to the command center on the roof is nearly impossible without using the gravity lift inside, but if you have an air vehicle and time it right, you can jump out and land safely on top, initiating the capturing sequence. As a precaution though, first eliminate any defenders atop the roof.
East Spire
- Initial Opposition: Four Imperial Grunts, Elite Overseer
>> The Blue Team has the best chance of capturing the East Spire, while Red Team doesn't have a good chance unless they have capture the opposing Spire and the Grand Hall. Getting over to the East Spire is very easy, taking a short while on foot, and even less when in a vehicle. Taking the East Spire is not recommended if the Blue Base hasn't been secured yet, as most of the Imperial Grunts at the home base stake out near the entrance.
>> The East Spire is a minor challenge to take like the West Spire, but offers great reward. Guarded by four Imperial Grunts, the main floor is easy to secure as long as you use precision weapons like the Magnum and Battle Rifle to take them out. Have at least one teammate defend the western entrance in case opponents try to make a grab for the base. Securing the base is the easy part; the hard part is one of the first two bosses, the Elite Overseer. Armed with a Beam Rifle, this boss has deadly precision and will assault you from the roof of the Spire, being nearly impenetrable to normal attacks from afar. Use teamwork to take him out, so you won't have extra work on your plate if the Spire comes under attack later.
>> The lower floors of the East Spire make a great place to defend from attackers. With the twisting turns and halls, you and a teammate can set up a perfect ambush scenario for incautious opponents, provided you have weapons like the Assault Rifle and Shotgun. While the ability to snipe enemies from far across the map from the Spire's top is a good idea at first, in the late game when air vehicles get used you should generally stay away from there.
>> While there aren't any air vehicles that spawn naturally during the battle, you should still keep watch later when Spartans might start employing air vehicles. Leave your position atop the East Spire as soon as possible when they start to arrive, unless you are equipped with a weapon such as a Rocket Launcher. The rest of the time, a Sniper or Beam Rifle is recommended to take out enemies from afar, and even steal kills from the opposing team.
>> If you are trying to take the East Spire after it has been captured by the opposing team, the first floor is the most direct method of securing it. Due to the large possibility of it being guarded, however, a safer option would be to clamber on the nearby Rockslide to get in through one of the second floor's balconies. Getting to the flat top on the roof is nearly impossible without using the gravity lift inside, but if you have an air vehicle and time it right, you can jump out and land safely on top, initiating the capturing sequence. As a precaution though, first eliminate any defenders atop the roof.
Grand Hall
- Nine Imperial Grunts, Two Grunt Heavies, Two Elite Commanders
>> The looming Grand Hall rests in the middle of Didact's Keep, representing a major opportunity for both teams. Located between both Spires, each team can easily access it if they have capture the bases. This base is the most defendable, giving advantages to the team that captures it, while also giving the Grunt defenders at the beginning of the battle the edge. You can use one of the Ghosts found on the either the Beach or Shoreline to quickly make your way towards the Hall, although you should either have teammates or be well-armed to take on the defenders.
>> The Grand Hall is defended by a veteran group of varying Grunts. As you can notice, the amount of Imperial Grunts is more than double that from the Spires. The other threat comes from the two Grunt Heavies armed with Fuel Rod Guns and Elite Commanders, one of each at each main entrance. With at least two teammates accompanying you, you should be able to make quick work of the Imperial Grunts with grenades or Assault Rifles. Keep to cover behind the numerous barricades in and around the Grand Hall when fighting the Heavies, avoiding their Fuel Rod blasts. While grenades can still work, you should swap the Assault Rifle for a headshot-capable weapon to quickly take out the Grunt Heavies. After that, use the Fuel Rod Guns dropped by the Heavies to quickly take out the Commanders, or a Plasma Pistol from an Imperial Grunt. When all enemies are down, you can start the capturing sequence.
>> Filled with barricades and jutting walls, there is a lot of cover to afford here. The central dais in the Grand Hall's lower level is where the majority of the Imperial Grunts are, making it easy to take them out with a well-placed grenade or two. However, do not move into this position yourself, as you will be presenting an open target to the Grunt Heavies. The only purpose the dais serves is the REQ Station located upon it, meant for ceasefires during the battle. The balconies on the outside of the Hall serve as excellent places to rain down fire on opponents trying to steal the base, as well as the bosses that spawn in the adjacent Courtyard.
>> The Grand Hall's second floor balconies serve well as sentry points, keeping watch over key positions such as the Courtyard and Cargo Bay, where the Legendary Bosses spawn. The eastern and western vantage points give way to the ability to snipe opponents coming out of the Spire, although it is hard to reach those atop it. With its abundance of defenses, the Grand Hall is easily the best place to guard during the battle.
>> Assaulting the Grand Hall is arguably the toughest thing to do in Incursion on Didact's Keep besides fighting Legendary Bosses, and as such you should have a powerful weapon or vehicle along with several teammates to help you storm the gargantuan structure. Although the defensive positions inside are in the guards' favor, some are also suitable for ducking behind when you need to withdraw from a defensive surge. Avoid using a main entrance in risk of being picked off by camping snipers unless you have an armored vehicle, and go through the Courtyard or Cargo Bay to surprise the opponent Spartans by way of the minor entrances, before going for the capture.
Boss Tactics
| Boss | Locations | Minions | Bounty | Tactics |

Elite Overseer |
>> West Spire at 0:00
>> East Spire at 0:00 |
None | 25 VP | Armed with a Beam Rifle, this boss has deadly precision and will assault you from the roof of the Spire. While it may seem tempting to use the gravity lift and take the Overseer out at close range, don't! The instant you get close to him, he'll swap to an energy sword and gut you. Instead, go up with several teammates to the top and keep away from the Elite. Grenades will be useless in this battle, as the Overseer is constantly evading attacks. Use plasma-based weapons to bring down his shields, and then finish the Overseer off with a Magnum or Assault Rifle to secure his bounty. |